When you are stuck, identify the final position you need, then check which rule prevents you from reaching it. In Order of the Sinking Star, the missing idea often concerns a character's inherent interaction, a mirror's geometry, a stone's effect on water, or a beam ability that only applies from the right position. Read one hint layer at a time and return to the puzzle before revealing the next.
The hints below are a way to inspect the four opening systems without reading a complete move sequence. They do not provide an exact answer for every room. A hint that describes a rule can help across several puzzles; a numbered solution only applies when its starting arrangement matches yours.
Start with the condition the puzzle requires
Before moving anything, describe the immediate obstacle in concrete terms. Replace “I cannot finish this room” with “the Warrior cannot reach the side of the block needed to push it” or “the mirror reaches water instead of the island.” The second description identifies something you can test.
Then look at the last action that would solve that obstacle. You might need to stand behind a rock, land on a narrow platform, or keep a useful beam active while moving. Work backward only as far as the next missing condition. Planning every action at once is harder when the puzzle contains interactions you have not understood yet.
A useful first experiment changes one thing. Move a mirror while leaving your character's starting square comparable, test a hero's interaction with one object, or observe one stone launch before changing several stones. If the result differs from your expectation, that difference is the next piece of information to investigate.
Hint ladder for the Hearty Heroes of Hauling
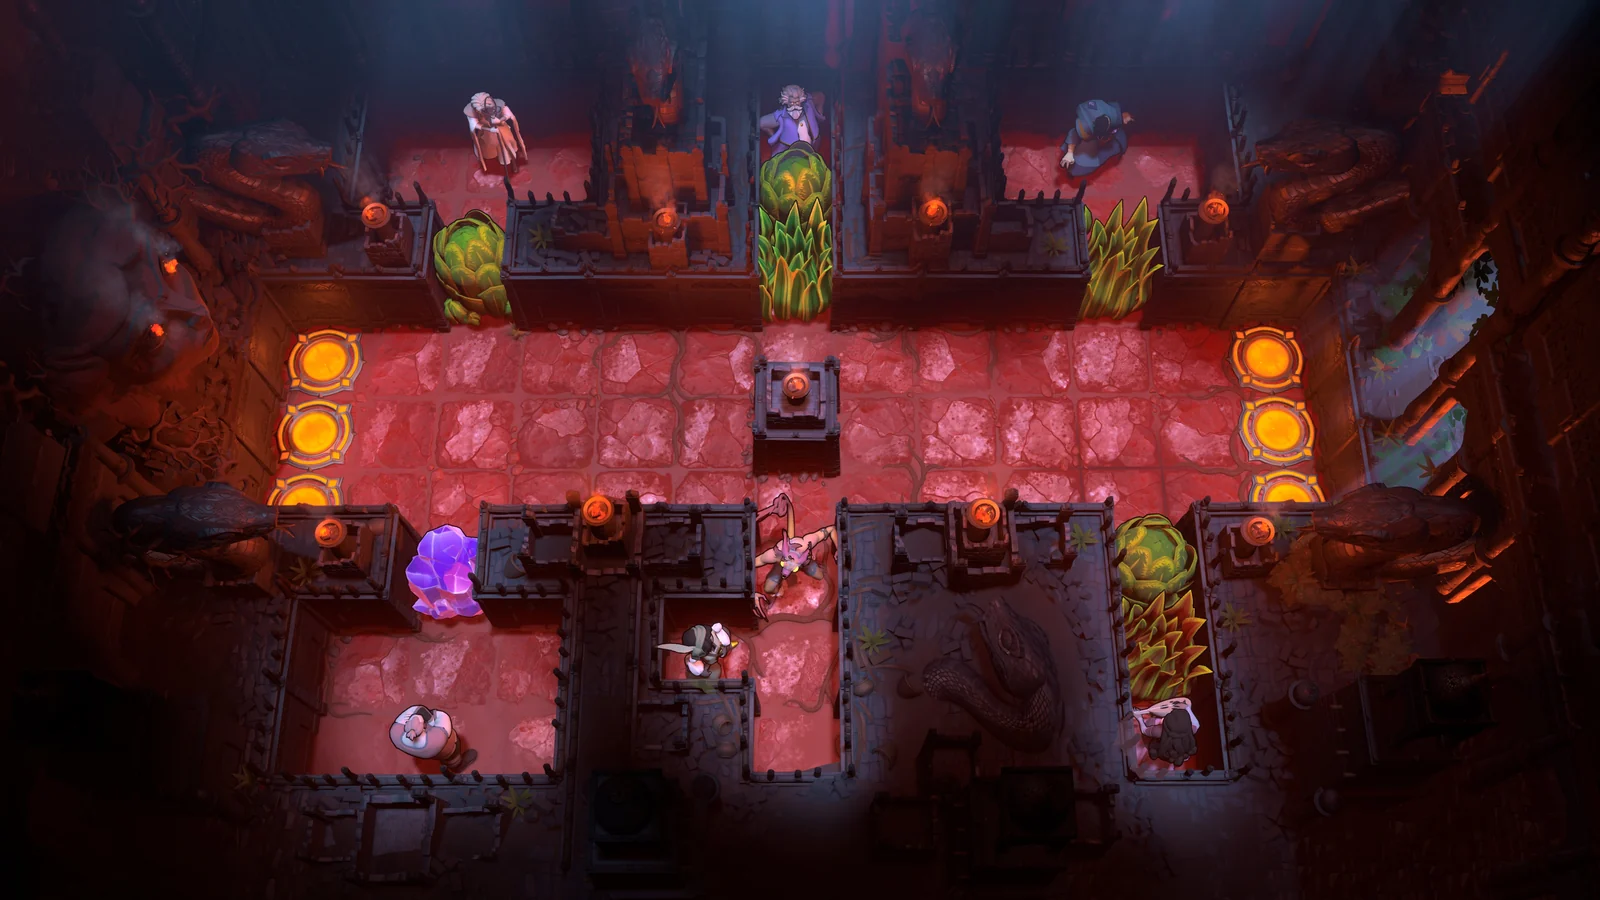
Hint 1: identify the hero who can make the final interaction
The northern world's heroes interact with objects differently. A block obstructing your route is not automatically a Warrior task. The Thief can pull an object behind her, and the Wizard swaps places with objects or characters. Consider which interaction produces the position the room requires.
If you keep pushing a block into places from which it cannot be recovered, inspect whether pulling or swapping changes the problem. This does not mean every room offers all three options. Use the characters actually present, and keep their available paths separate in your planning.
Hint 2: examine access before moving the obstacle
A hero's position is part of the puzzle state. Ask which side of the object that hero must reach, then identify what blocks access to that side. You may need another hero to reposition something before the apparent main actor can make progress.
Avoid judging a move only by the distance between the object and the exit. A move away from the exit can create useful access, while a move toward it can remove the square needed for the next interaction. The geometry decides whether the arrangement helps.
Hint 3: treat inherent abilities as consequences to plan around
A character's ability can activate when its conditions are met. The movement that looks like an ordinary repositioning step may therefore pull, push, or swap something you needed to leave in place. Watch what changes after the first unexpected move, and undo to inspect the trigger.
Instead of repeating the failed path, choose a route that keeps the relevant object out of that interaction until you want it to occur. This is particularly useful when several heroes occupy the same compact space. The task is to coordinate their consequences, not simply move each one toward the exit separately.
Hint ladder for the Mirror Isles
Hint 1: read the reflected destination
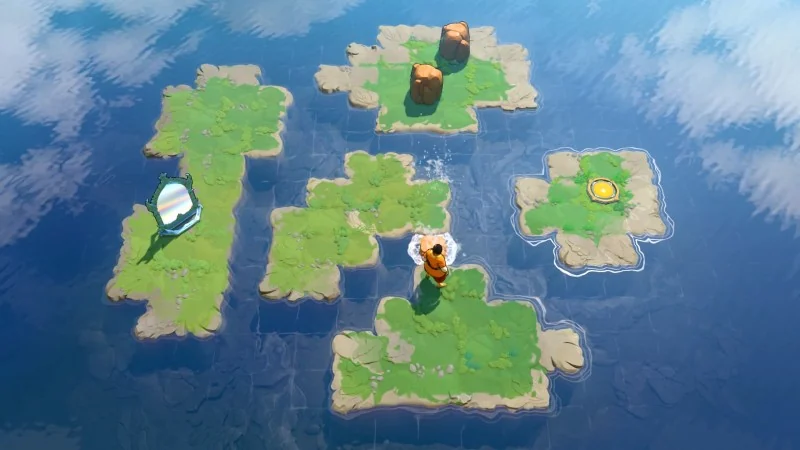
The eastern world uses movable mirrors to transfer characters and objects among islands. Compare the square you occupy with the square the reflection would use. If the destination is wrong, moving your character and moving the mirror are two different ways to change the geometry.
A piece of land that looks incidental can be a useful reflection position. Before pushing an object, inspect the island's edges, protruding tiles, and space around the mirror. Those positions can let you approach the same destination from a different relationship to the mirror.
Hint 2: consider the object before the character
If reflecting yourself does not solve the crossing, inspect the movable objects. A rock may need to reach the other side first, or the destination may only become useful after you change an object arrangement. Do not assume every mirror action should move the controlled character.
The useful question is what must be present on the far side for the next action. A successful landing that leaves no useful route onward is an intermediate state. Judge it by what you can do next rather than by the fact that you crossed water.
Hint 3: inspect every copy before continuing
Later mirror challenges introduce character duplication. Once several copies are involved, observe the whole board after a move. The nearest copy may reach a promising square while another copy loses access or ends in an unusable position.
Avoid assuming that a familiar early reflection sequence remains correct when copies are present. Identify how the current puzzle lets you control them and where each needs to be. Exact clone arrangements belong to their individual rooms; the general hint is to stop treating a multiple-character board as a single-character crossing.
Hint ladder for Skipping Stones to Lonely Homes
Hint 1: follow the stone all the way to its stopping point
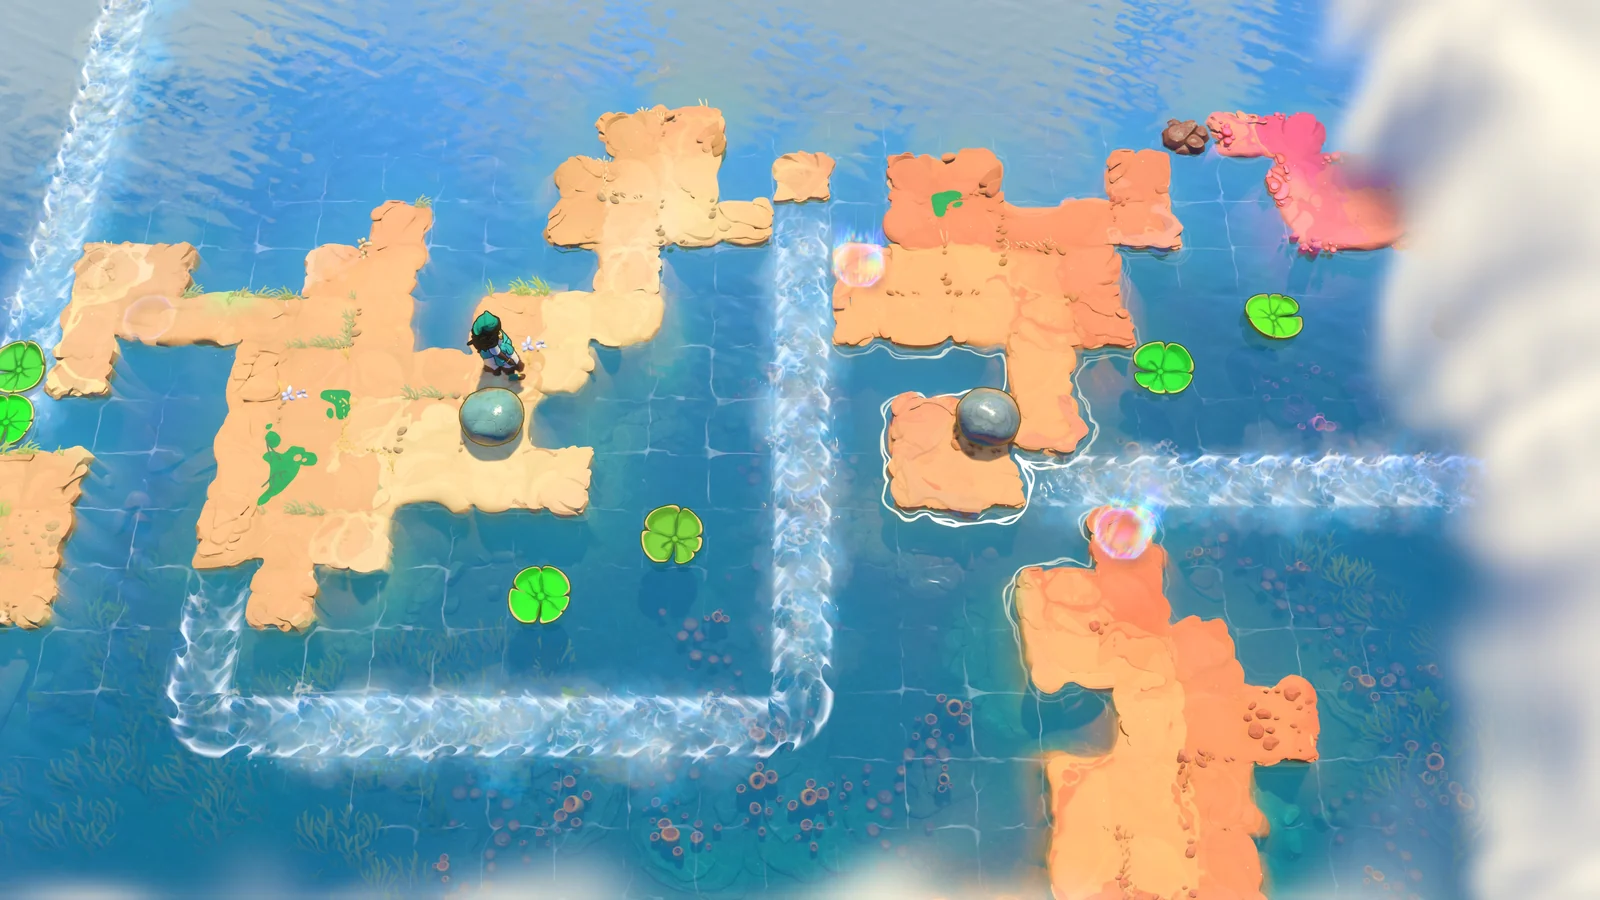
A stone can skip over water and reach land beyond it. Observe its destination before trying to cross. If you keep sending the stone to an unhelpful shore, the issue may be its launching row or column rather than an insufficient number of stones.
The southern world's larger spaces can connect several screens. An object that seems unnecessary locally may need to move into the next screen. Before using it for an optional route, check whether it is also the stone that makes the main path continue.
Hint 2: watch the water beside the stone's route
Lily pads respond to stones travelling nearby, and currents carry them onward. The effect you need may be perpendicular to the stone's travel rather than along the route the stone takes. Watch the pad after the launch instead of looking only at where the rock lands.
Separate a moving pad from a usable crossing. You need somewhere reachable to board, a destination where you can leave it, and any stone needed for the next action. A pad entering a current is useful only when the resulting route fits those conditions.
Hint 3: separate placement from timing
Some crossings depend on coordinating pads or boarding while they pass. Establish the stone and character positions first. Use the function that slows time to inspect the timing after the geometry makes sense.
If you missed the pad but its route looked correct, repeat the same setup with a different boarding moment. If the pad travelled the wrong way or stopped short, change the setup before working on timing. These are different problems and should not be corrected with the same experiment.
When a secret detour leaves you with fewer accessible stones, rewind to the decision that committed the resources. A southern level can require stones from earlier screens. Repeated local rearrangement cannot replace an object you sent somewhere inaccessible earlier in the route.
Hint ladder for the Vault of the Beamcasters
Hint 1: inspect your current beam ability
The western world gives the Caver abilities through colored beams. He cannot normally push, so an unsuccessful attempt to move an object may indicate that the required ability is absent at the position where you are trying to act.
Identify the relevant beam and inspect the space it covers. Gaining an ability somewhere else in the room is not the same as having it where the interaction is needed. Plan the action from the useful beam position rather than assuming that discovering a beam permanently changes all movement.
Hint 2: check turning space
The Caver's gem vest requires extra empty space to turn sideways. If a route seems open but movement does not fit your expectation, examine the area around him. The restriction can concern orientation and turning clearance rather than the passage's destination.
Do not immediately move an emitter or spend time looking for another gem when the first issue is maneuvering space. Establish where the Caver can face the necessary direction, then reconsider the beam action from that position.
Hint 3: inspect overlapping beams and emitter changes
Overlapping beams can supply multiple abilities at once. A puzzle may therefore require an action from an intersection rather than from either isolated beam. List the effects you already understand and inspect where those effects can coexist.
Artifacts also affect emitters: the rod can force-push them, while the torque changes emitted beam direction. If you have one of these tools, reconsider the emitter as something you can manipulate. Do not restrict your search to moving the Caver through the existing beam pattern.
Use the overworld when the room has stopped teaching you anything
You can leave a puzzle through the menu and explore another road from the Crossroads. This is useful when each new attempt is just the same failed sequence. Another challenge may demonstrate a rule you have been assuming incorrectly, or simply make it easier to reconsider the blocked arrangement later.
The overworld has its own route puzzles. A room solution and an overworld crossing solve different conditions, so identify which layer you are stuck on. If the problem is reaching a puzzle entrance, inspect nearby routes, tunnels, and available positions before searching for a room answer.
When you return to a paused challenge, review the current state. Start with the last useful observation you made and choose one experiment that distinguishes two possible explanations. For example, test whether an obstacle comes from the landing position or from the mirror alignment, instead of changing both simultaneously.
Escalate to a specific solution only after identifying the room
Use the area name, visible heroes, objects, water pattern, and exit placement to identify a puzzle. Nearby rooms can use the same mechanic while requiring a different sequence. A solution for a similar screenshot can create an unusable state if the objects or starting positions differ.
If a guide's first instruction does not make sense from your current arrangement, compare the starting state before following more directions. Undoing to a useful earlier point may be enough; an entire restart is a separate choice. The objective is to recover the condition the solution assumes, not to make its next instruction fit by moving unrelated objects.
Stop reading once a hint identifies the missing relationship. Try that idea in the room, then inspect the resulting arrangement. Understanding why a move works gives you a reusable rule for later puzzles, while reading an entire sequence immediately can hide the exact interaction that was causing the problem.